Hose Clamp Basics
Hose clamps are one of the most important tools in your arsenal when it comes to car maintenance. They are versatile and can be used in a variety of applications, but they are also easy to misuse. In this article, we will go over some of the most common mistakes people make when using hose clamps so that you can avoid them in the future.
Design
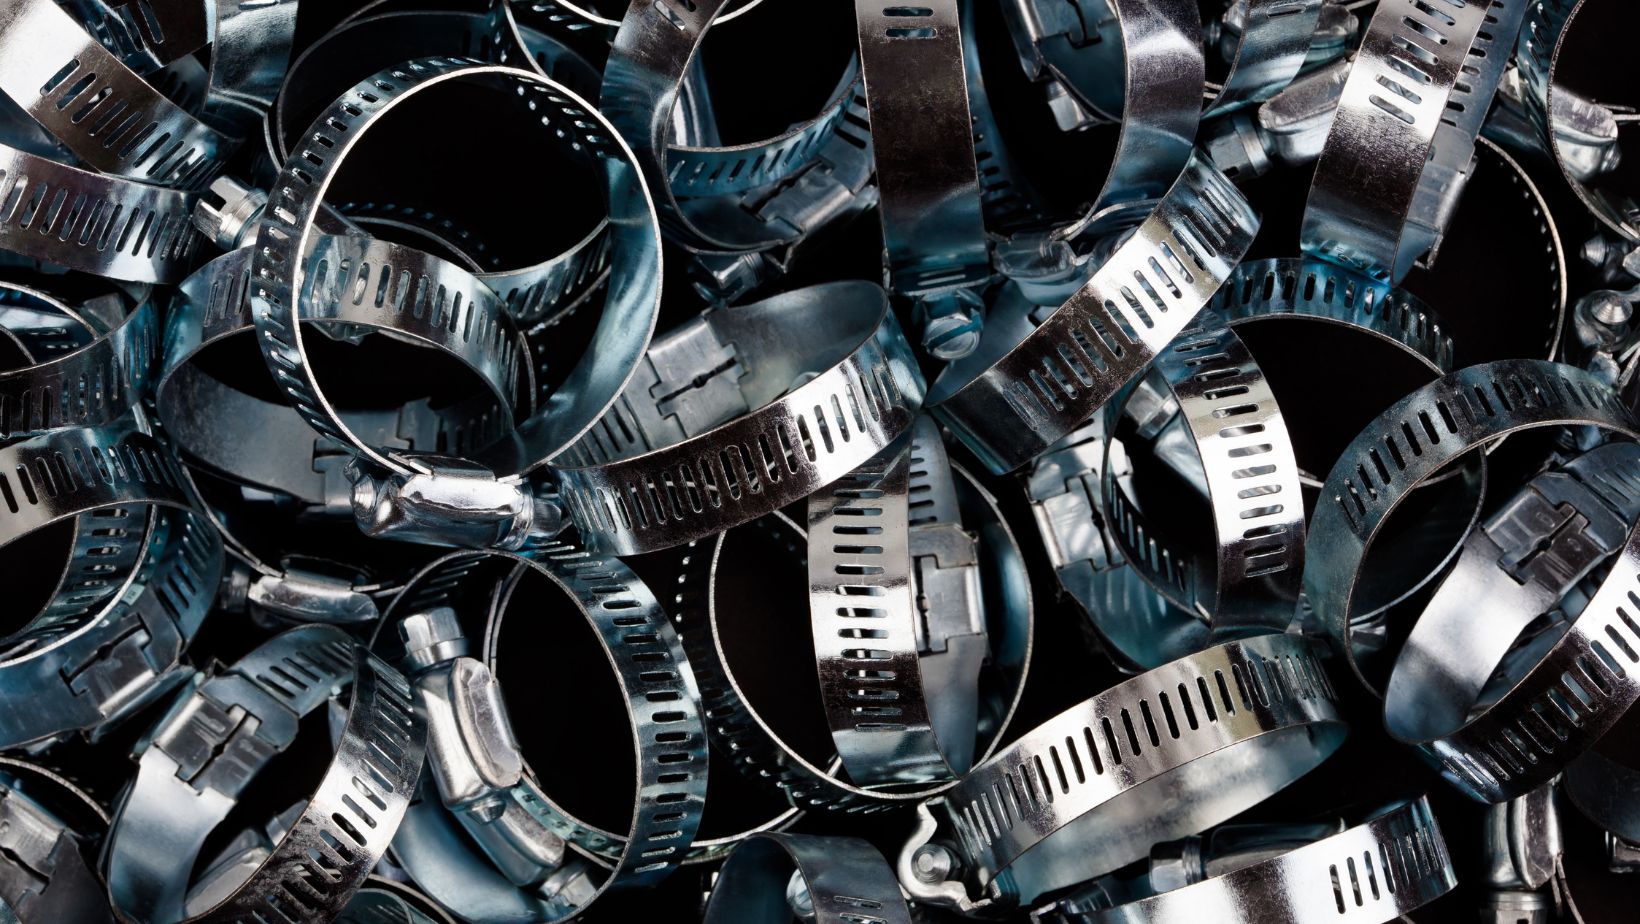
Hose clamps come in two basic designs: worm drive and crimp.
Worm drive clamps have a slotted band which is tightened with a screw or bolt. These clamps are quickly adjustable and can be reused. The disadvantage of worm drive clamps is that they’re prone to loosening over time, so they need to be checked periodically.
Crimp clamps have a smooth band which is tightened with a special tool that squeezes the band together, permanently deforming it. These clamps are not adjustable and can only be used once. The advantage of crimp clamps is that they’re less likely to loosen over time.
Materials
There are several different kinds of materials that can be used for hose clamps. The most common variety is made of steel, but there are also stainless steel, brass and aluminum options. While stainless steel is the more durable option, it is also the more expensive one. If you are working with a budget, then the steel or brass hose clamps will work just fine. aluminum is not as common because it is not as strong as the other two options, but it can be used in some situations.
Over-Tightening
Many people think that tightening a hose clamp is a simple task, but there are actually a few common mistakes that people make that can lead to big problems. In this article, we’ll take a look at some of the most common hose clamp mistakes so that you can avoid them in the future.
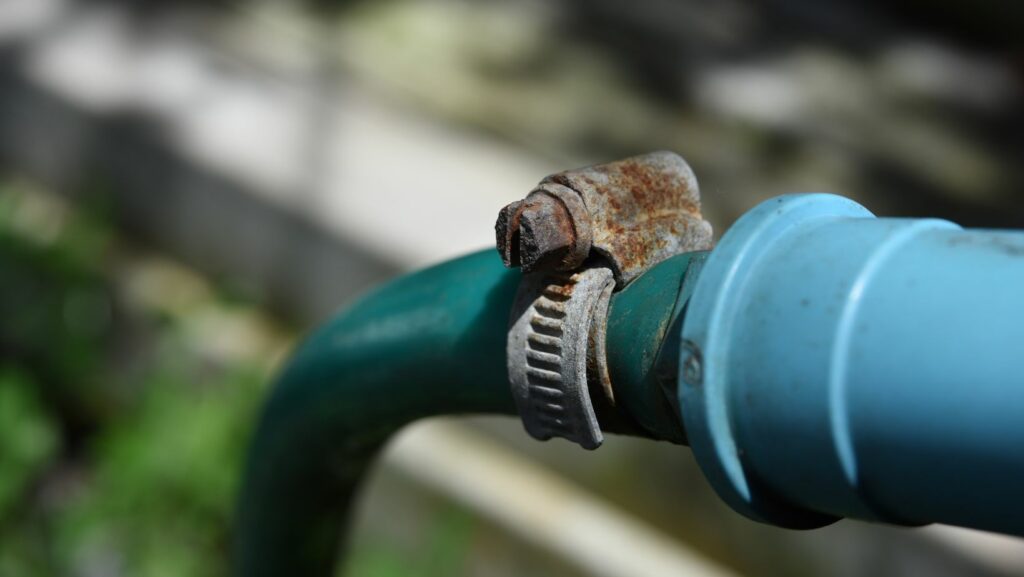
One of the most common mistakes people make when using hose clamps is over-tightening them. This can damage the hose, the clamp, or both. It can also cause leaks.
When you over-tighten a hose clamp, it can distort the shape of the hose, which can cause it to leak. The clamp can also crack or break, which can also cause leaks. If you do over-tighten a hose clamp, loosen it slightly to relieve the pressure.
Improper Installation
One of the most common mistakes when using hose clamps is improper installation. If a hose clamp is not installed correctly, it can cause damage to the hose or even the vehicle. Make sure to follow the manufacturer’s instructions carefully when installing a hose clamp.
Another common mistake is over tightening the hose clamp. This can damage the hose or cause it to leak. Always follow the manufacturer’s recommended torque settings when tightening a hose clamp.
Finally, make sure to check the condition of the hose before installing a new hose clamp. If the hose is damaged, it may need to be replaced before installing a new hose clamp.
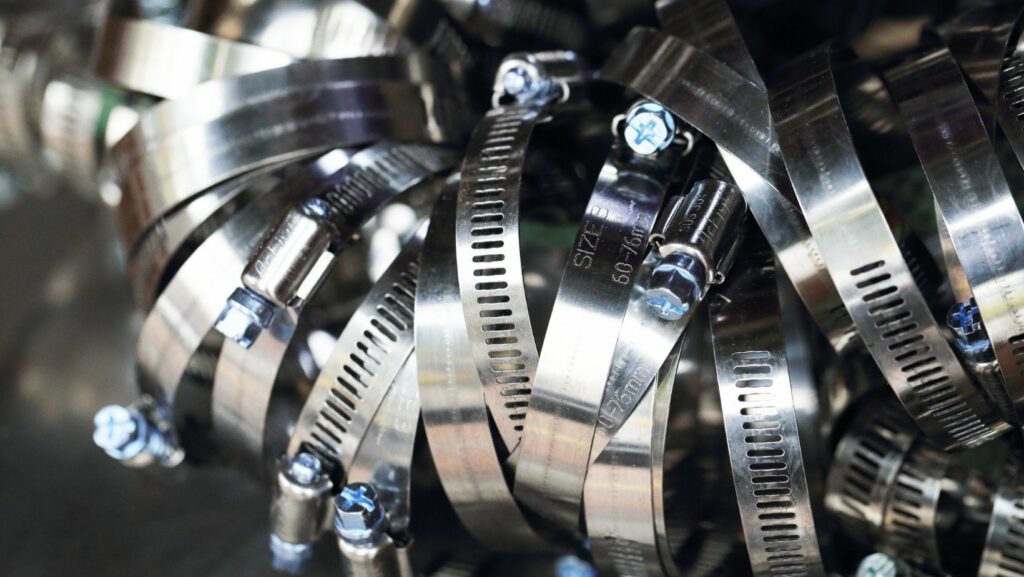
Not Using The Right Size Clamp
One of the most common mistakes made when using hose clamps is not using the right size clamp for the job. Hose clamps come in a variety of sizes, and it’s important to choose one that will fit snugly around the outside of the hose without being too tight or too loose. If the clamp is too small, it won’t be able to grip the hose tightly enough to create a seal. If it’s too large, it could damage the hose or cause it to leak.
Another mistake that’s often made is not tightening the clamp enough. The tension on a hose clamp should be just tight enough to create a seal without causing damage to the hose. Over-tightening can damage both the hose and the clamp, and may make it difficult to remove the clamp later on.
How to Avoid These Mistakes
There are a few common mistakes people make when using hose clamps. Hose clamps are a great way to keep your hoses secure, but if you don’t use them properly, they can actually damage your hoses. Here are some tips on how to avoid making these mistakes.
Use The Proper Installation Tool
There are various types and sizes of hose clamps, which can make it difficult to know which one you need for your particular application. It’s important to choose the right size and type of clamp to ensure a proper seal. You also need to make sure that the clamp you choose is compatible with the material you’re using it on.
There are two main types of hose clamps: worm gear and T-bolt. Worm gear clamps have a threaded screw that tightens the band around the hose, while T-bolt clamps have a bolt that tightens the band.
When installing hose clamps, it’s important to use the proper installation tool. This will help ensure that the clamp is properly tightened and doesn’t slip off. Some common mistakes include:
- Not using the proper installation tool: Using the wrong tool can damage the threads on the clamp, making it difficult to properly tighten or loosen in the future. Make sure to consult your owner’s manual or ask a professional before selecting an installation tool.
- Not lubricating the threads: If you don’t lubricate the threads, they can bind and break when you try to tighten or loosen them. A little bit of oil or silicon spray will do the trick.
- Tightening too much: If you overtighten the clamp, you can strip the threads or break the band. This can cause leaks or other problems. Make sure to check your owner’s manual for instructions on how tight to make your particular type of clamp.
Follow The Manufacturer’s Instructions
Hose clamps are one of the most versatile tools in a mechanic’s toolbox, but they’re also one of the most misused. Here are four common mistakes mechanics make when using hose clamps, and how to avoid them.
1. Not torquing the clamp to the specified level
Probably the most common mistake mechanics make when using hose clamps is not torquing them to the specified level. This can be due to either not having a torque wrench that goes high enough, or simply not having enough time to do it properly. Unfortunately, both of these excuses can lead to big problems down the road.
If a hose clamp is not properly torqued, it can either come loose and cause a leak, or it can be overtightened and crush the hose, causing a restriction in flow. Either way, it’s important to take the time to torque the clamp properly.
2. Not using lubricant on threads
Another common mistake is not using lubricant on the threads of the clamp bolt. This can lead to galling, which is when the threads start to fuse together due to friction. This will make it very difficult (if not impossible) to remove the bolt later on, which could lead to having to cut the hose in order to get it off.
3. Not renewing washers regularly
Another thing that’s often overlooked is renewing washers regularly. Washers are relatively cheap, and over time they can become hard and brittle from exposure to chemicals and heat. This can eventually lead to them cracking and failing, which will obviously cause leaks.
4. Reusing old clamps
Reusing old hose clamps is also a mistake for a couple of reasons. First of all, older clamps may have become corroded or damaged and may not work as well as they used to. Secondly (and perhaps more importantly), older clamps may not meet today’s safety standards – meaning they could fail unexpectedly and cause serious injury or even death.
Use The Correct Size Hose Clamp
One of the most common mistakes when using hose clamps is using the wrong size clamp for the job. Hose clamps are designated by two different measurements — the inner diameter, or ID, of the clamp, and the width of the band. To ensure a snug fit, it’s important to use a hose clamp that is just slightly smaller than the ID of your hose. If you’re working with a flexible hose, be sure to measure at the widest point.
How to Tighten Hose Clamps
If you’re clamp is too loose, it can result in a leaky hose. If it’s too tight, it can damage the hose or fitting. That’s why it’s important to know how to properly tighten a hose clamp. In this article, we’ll show you how to do just that.
- Hose clamp
- Flat head screwdriver
- Wire cutters (optional)
Instructions
1. Locate the hose clamp that needs to be tightened. The hose clamp will have two pieces that are hinged together. There will also be a screw in the center of the two pieces.
2. Place the flat head screwdriver on the head of the screw and turn it to the left. As you turn the screw, you will see the two pieces of the hose clamp getting closer together.
3. Continue turning the screw until the two pieces are close enough together so that they are holding the hose tightly. Do not overtighten, as this can damage both the hose and the clamp.
4. If necessary, use wire cutters to trim any excess wire from the end of the screw.